Tokyo
Tokyo Bangkok
 Seoul
Seoul Singapore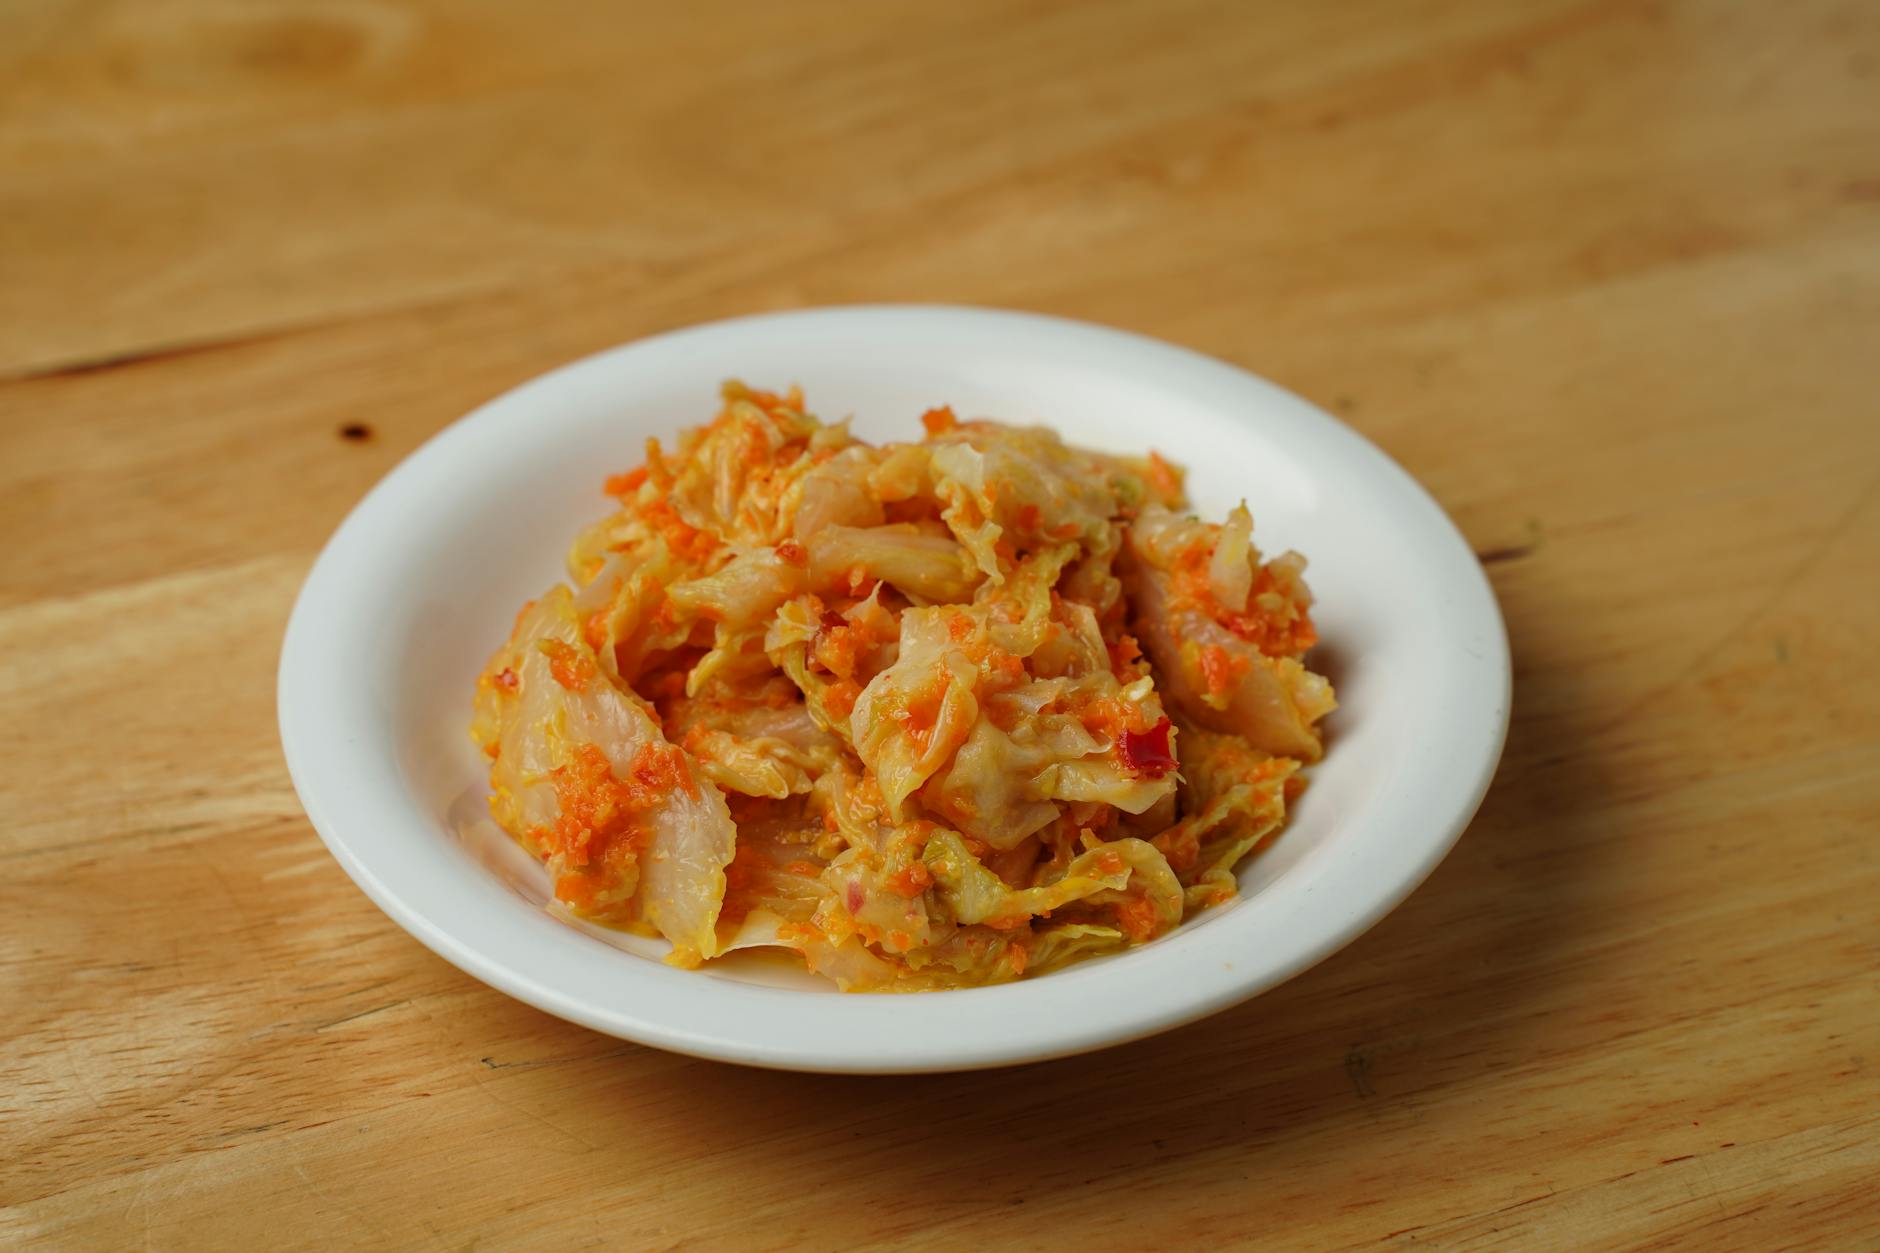
How to Make Kimchi from Scratch: Authentic Baechu Method
Watching a Seoul local pack kimchi into jars—hands deep in red paste, folding cabbage leaves with care—shows how this isn’t fast food. It’s a layered ritual. Turns out, homemade kimchi is less intimidating once you break it down step by step.
Choosing and Preparing Your Napa Cabbage
Grab napa cabbage with tight, pale green leaves. Heavy heads mean they’re crisp and juicy. One medium head (about 2kg) works for a first batch. Skip regular green cabbage—it won’t give the right crunch.
Slice the cabbage lengthwise into quarters, keeping the stem attached. Loose leaves make a mess later. Soak in salted water (2 tablespoons salt per 2 liters) for 4-6 hours. This softens the leaves and preps them for seasoning. You’ll see them wilt. Rinse well and drain completely.
Building Your Seasoning Paste with Gochugaru and Jeotgal
Big mistake: thinking gochugaru (Korean chili flakes) and jeotgal (salted seafood) are optional. They’re essential. Gochugaru adds color and mild heat—nothing like cayenne’s punch. Jeotgal, usually tiny shrimp or anchovies, brings the deep umami that gets people asking, “What’s in this?” (Answer: no secrets.)
Mix 3 tablespoons gochugaru, 2 tablespoons jeotgal, 1 tablespoon minced garlic, 1 teaspoon ginger, 1 tablespoon fish sauce, and 2 tablespoons rice flour mixed with water. The rice flour helps bind everything and feeds fermentation. Stir until thick. Taste it—should be bold and salty. That’s right. Toss in 2 cups chopped scallions and some thin daikon slices for crunch.
Packing and Fermenting Your Kimchi
Spread each cabbage quarter on a board. Slather paste between every leaf, outside to center. No need to hold back—coat them well. It’s slow work but weirdly satisfying.
Press the kimchi into a clean jar, packing it tight so juices cover everything. If needed, add a brine (1 tablespoon salt + 1 cup water). Leave it out at room temp (18-22°C) for 3-5 days. Bubbles mean it’s working. Check day 3; when it’s tangy enough, fridge it. Flavor keeps evolving for weeks.
Homemade means you call the shots. Nail this version, then tweak—more spice, less funk, whatever you like. That’s when kimchi becomes a habit, not just a recipe.